Fishing

Finding a Honey Hole (Part 2)
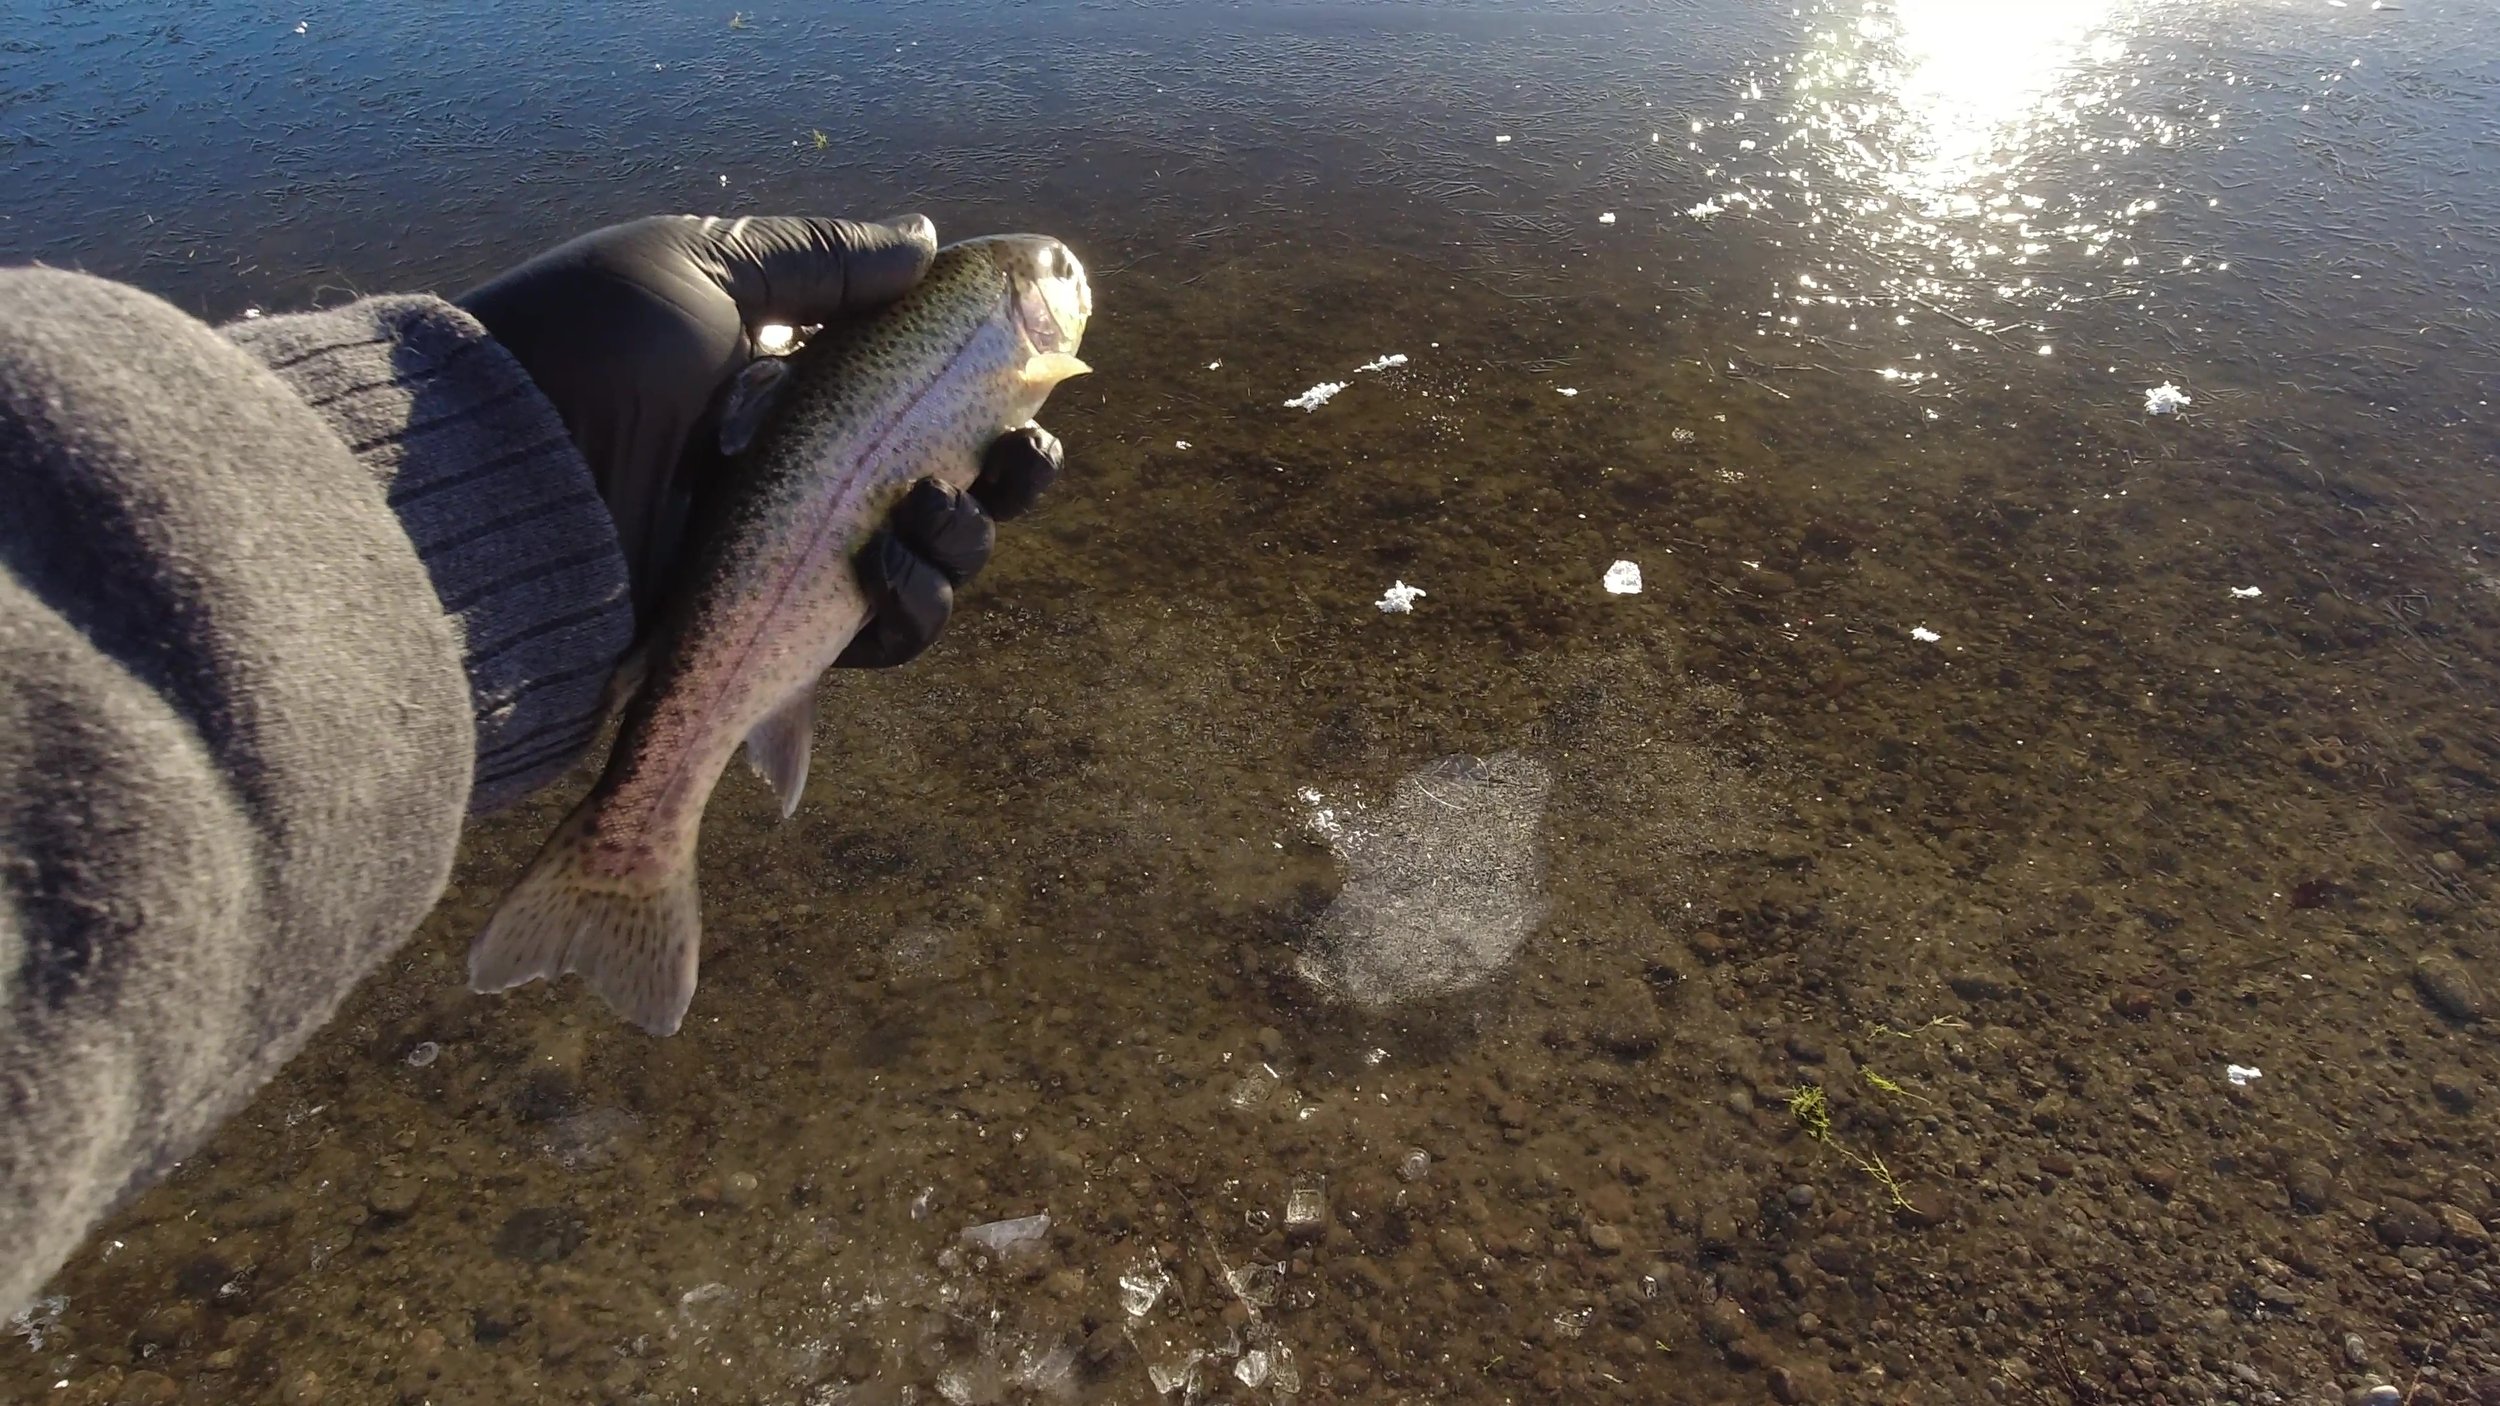
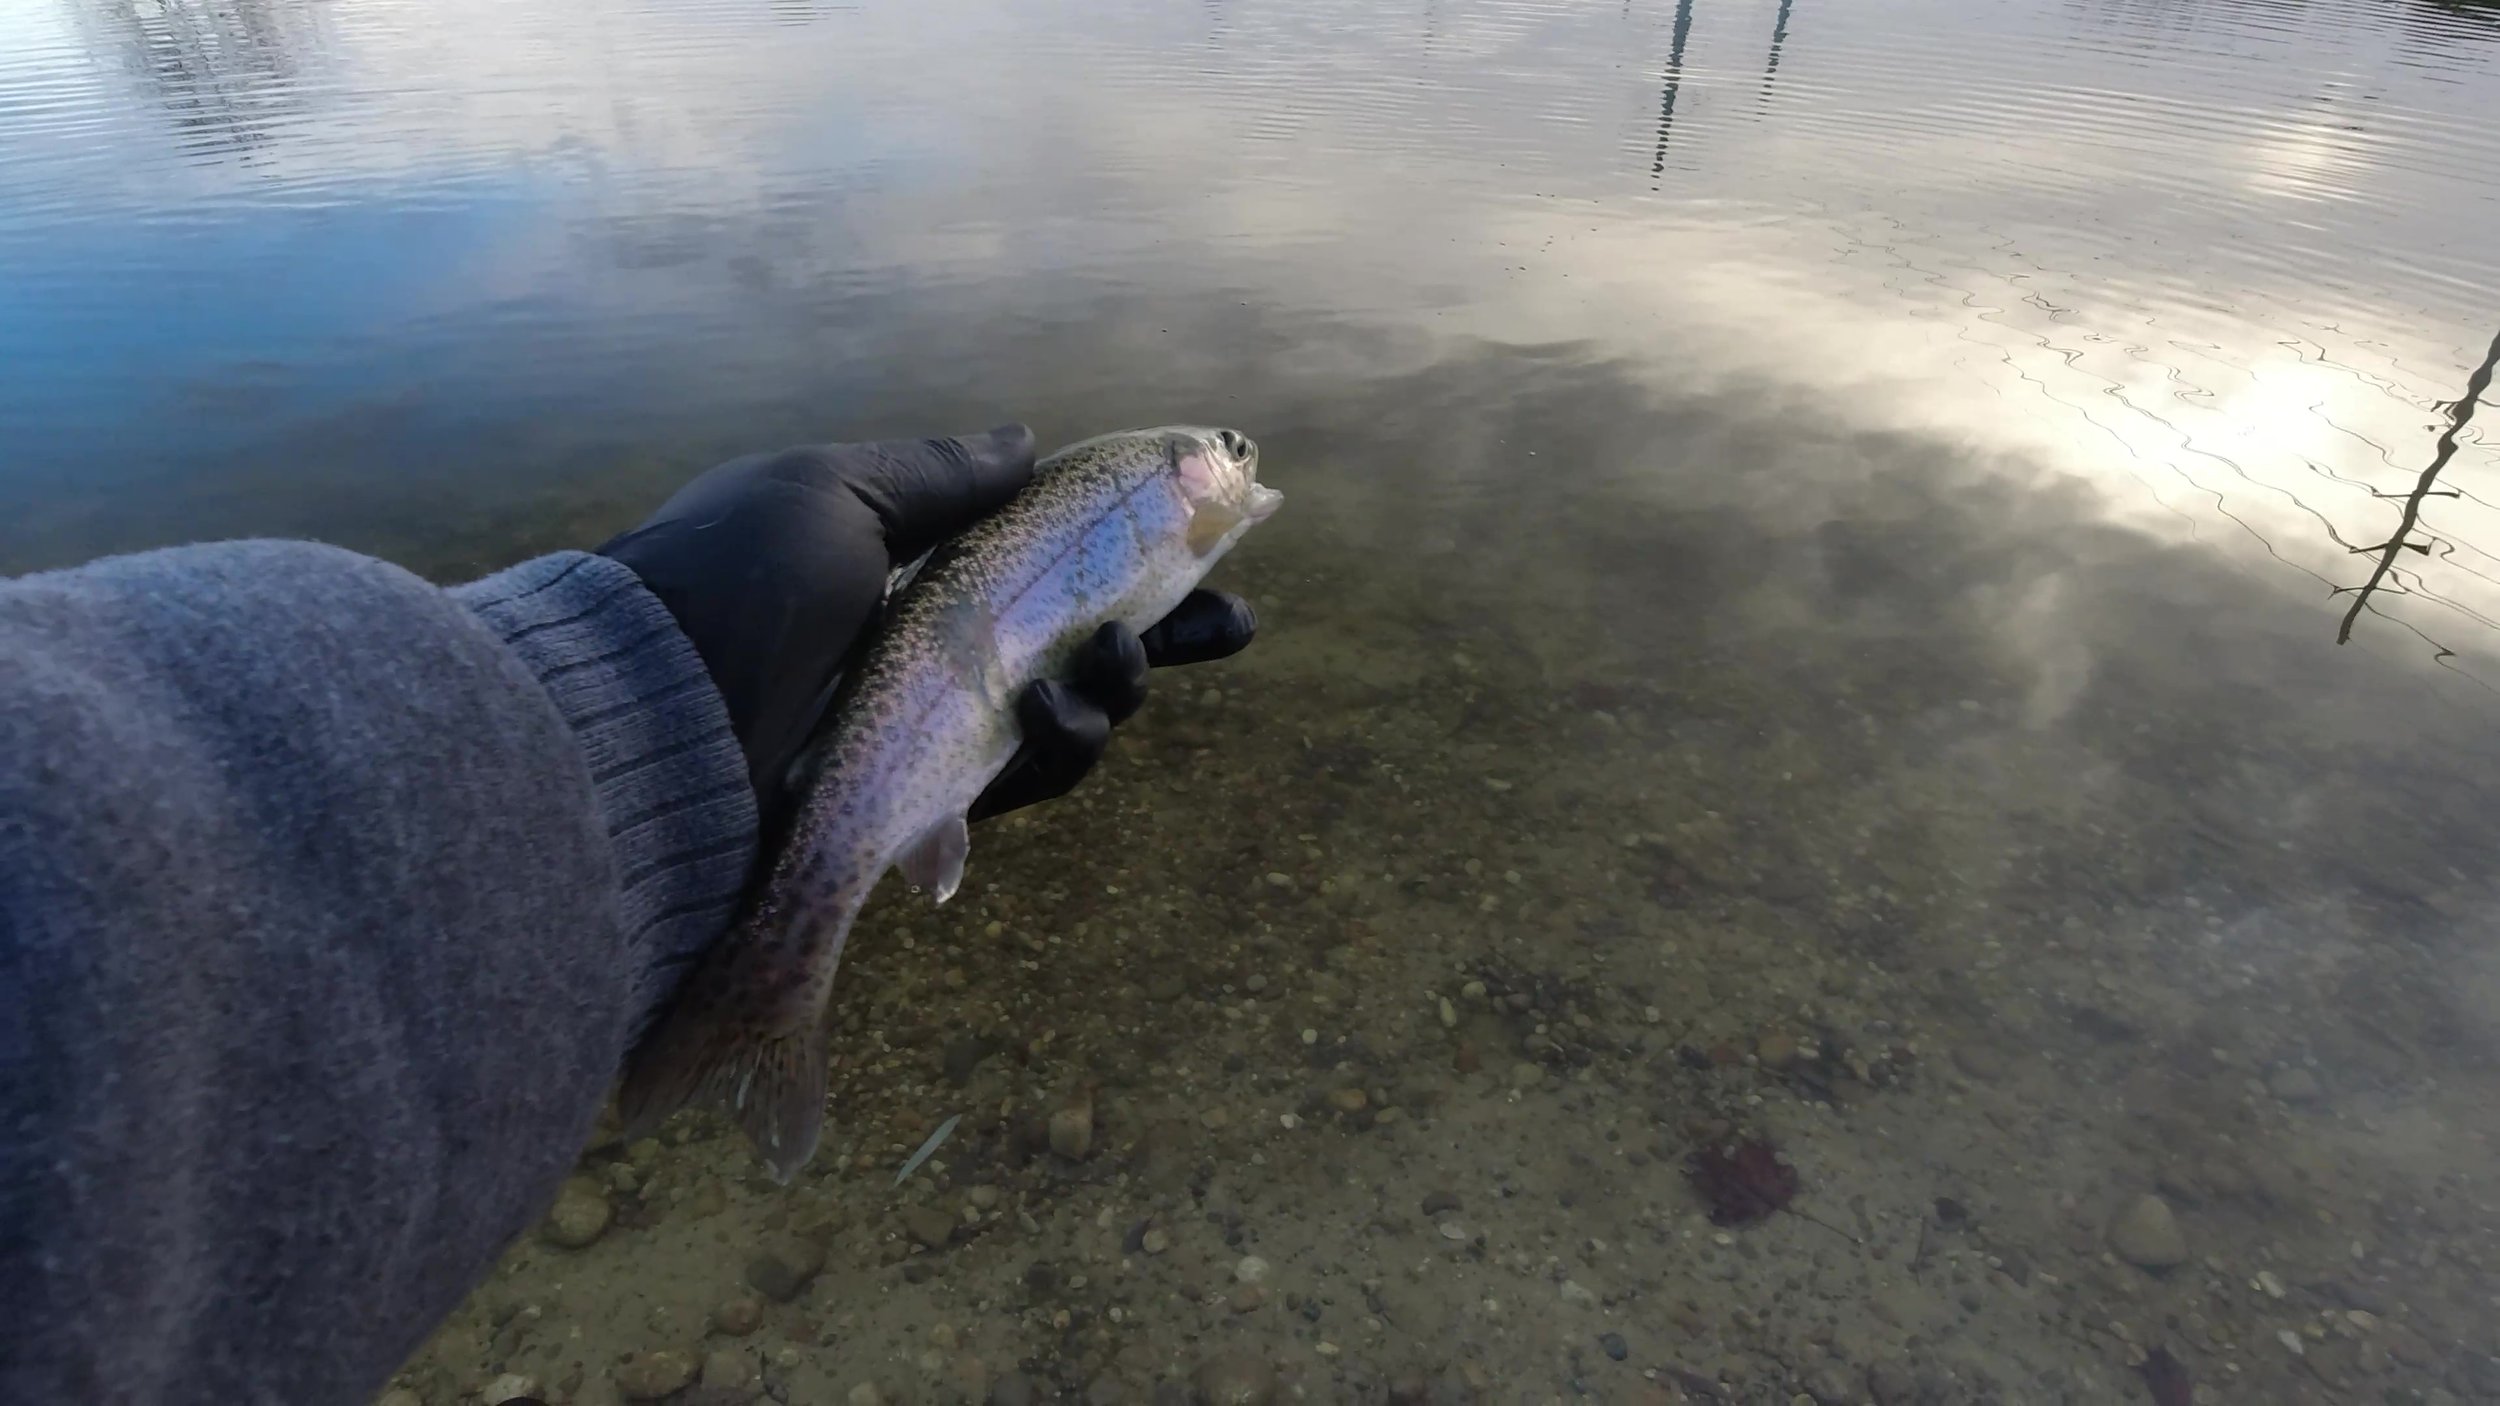
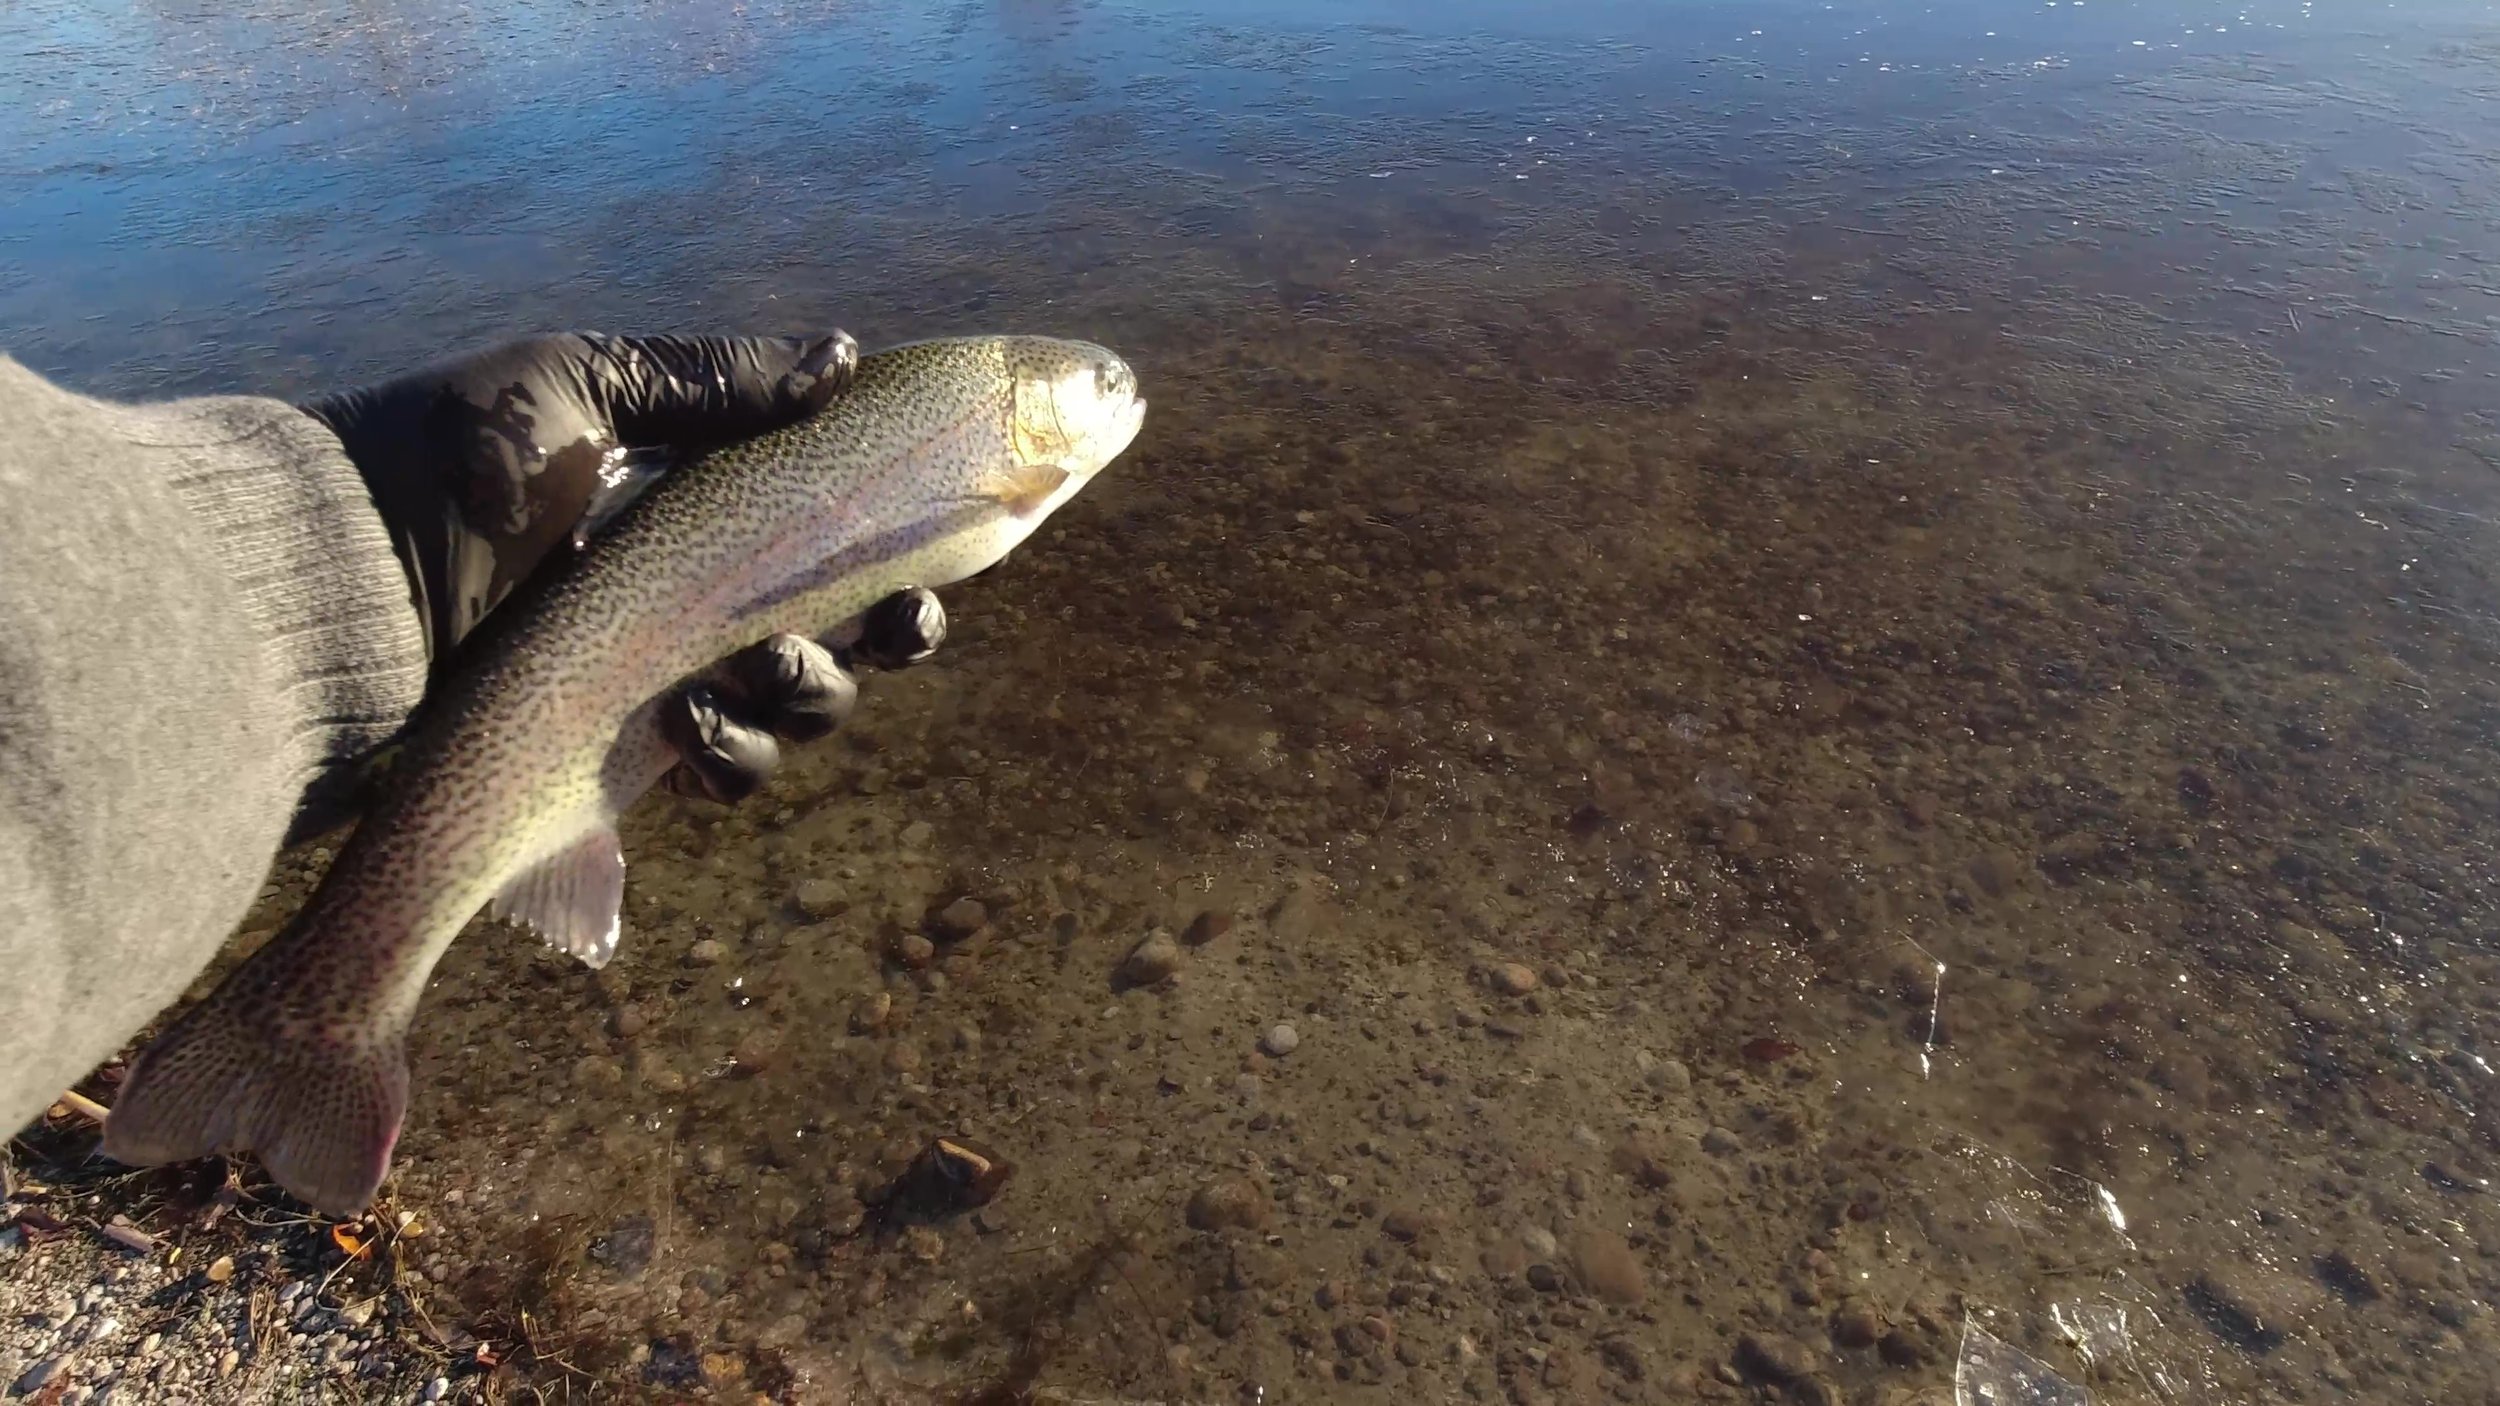
Keeping the honey hole fishing going. What a turn of events. From thinking about giving up to giving a spot a chance that normally the fish are never at. Turned out to be a winner.
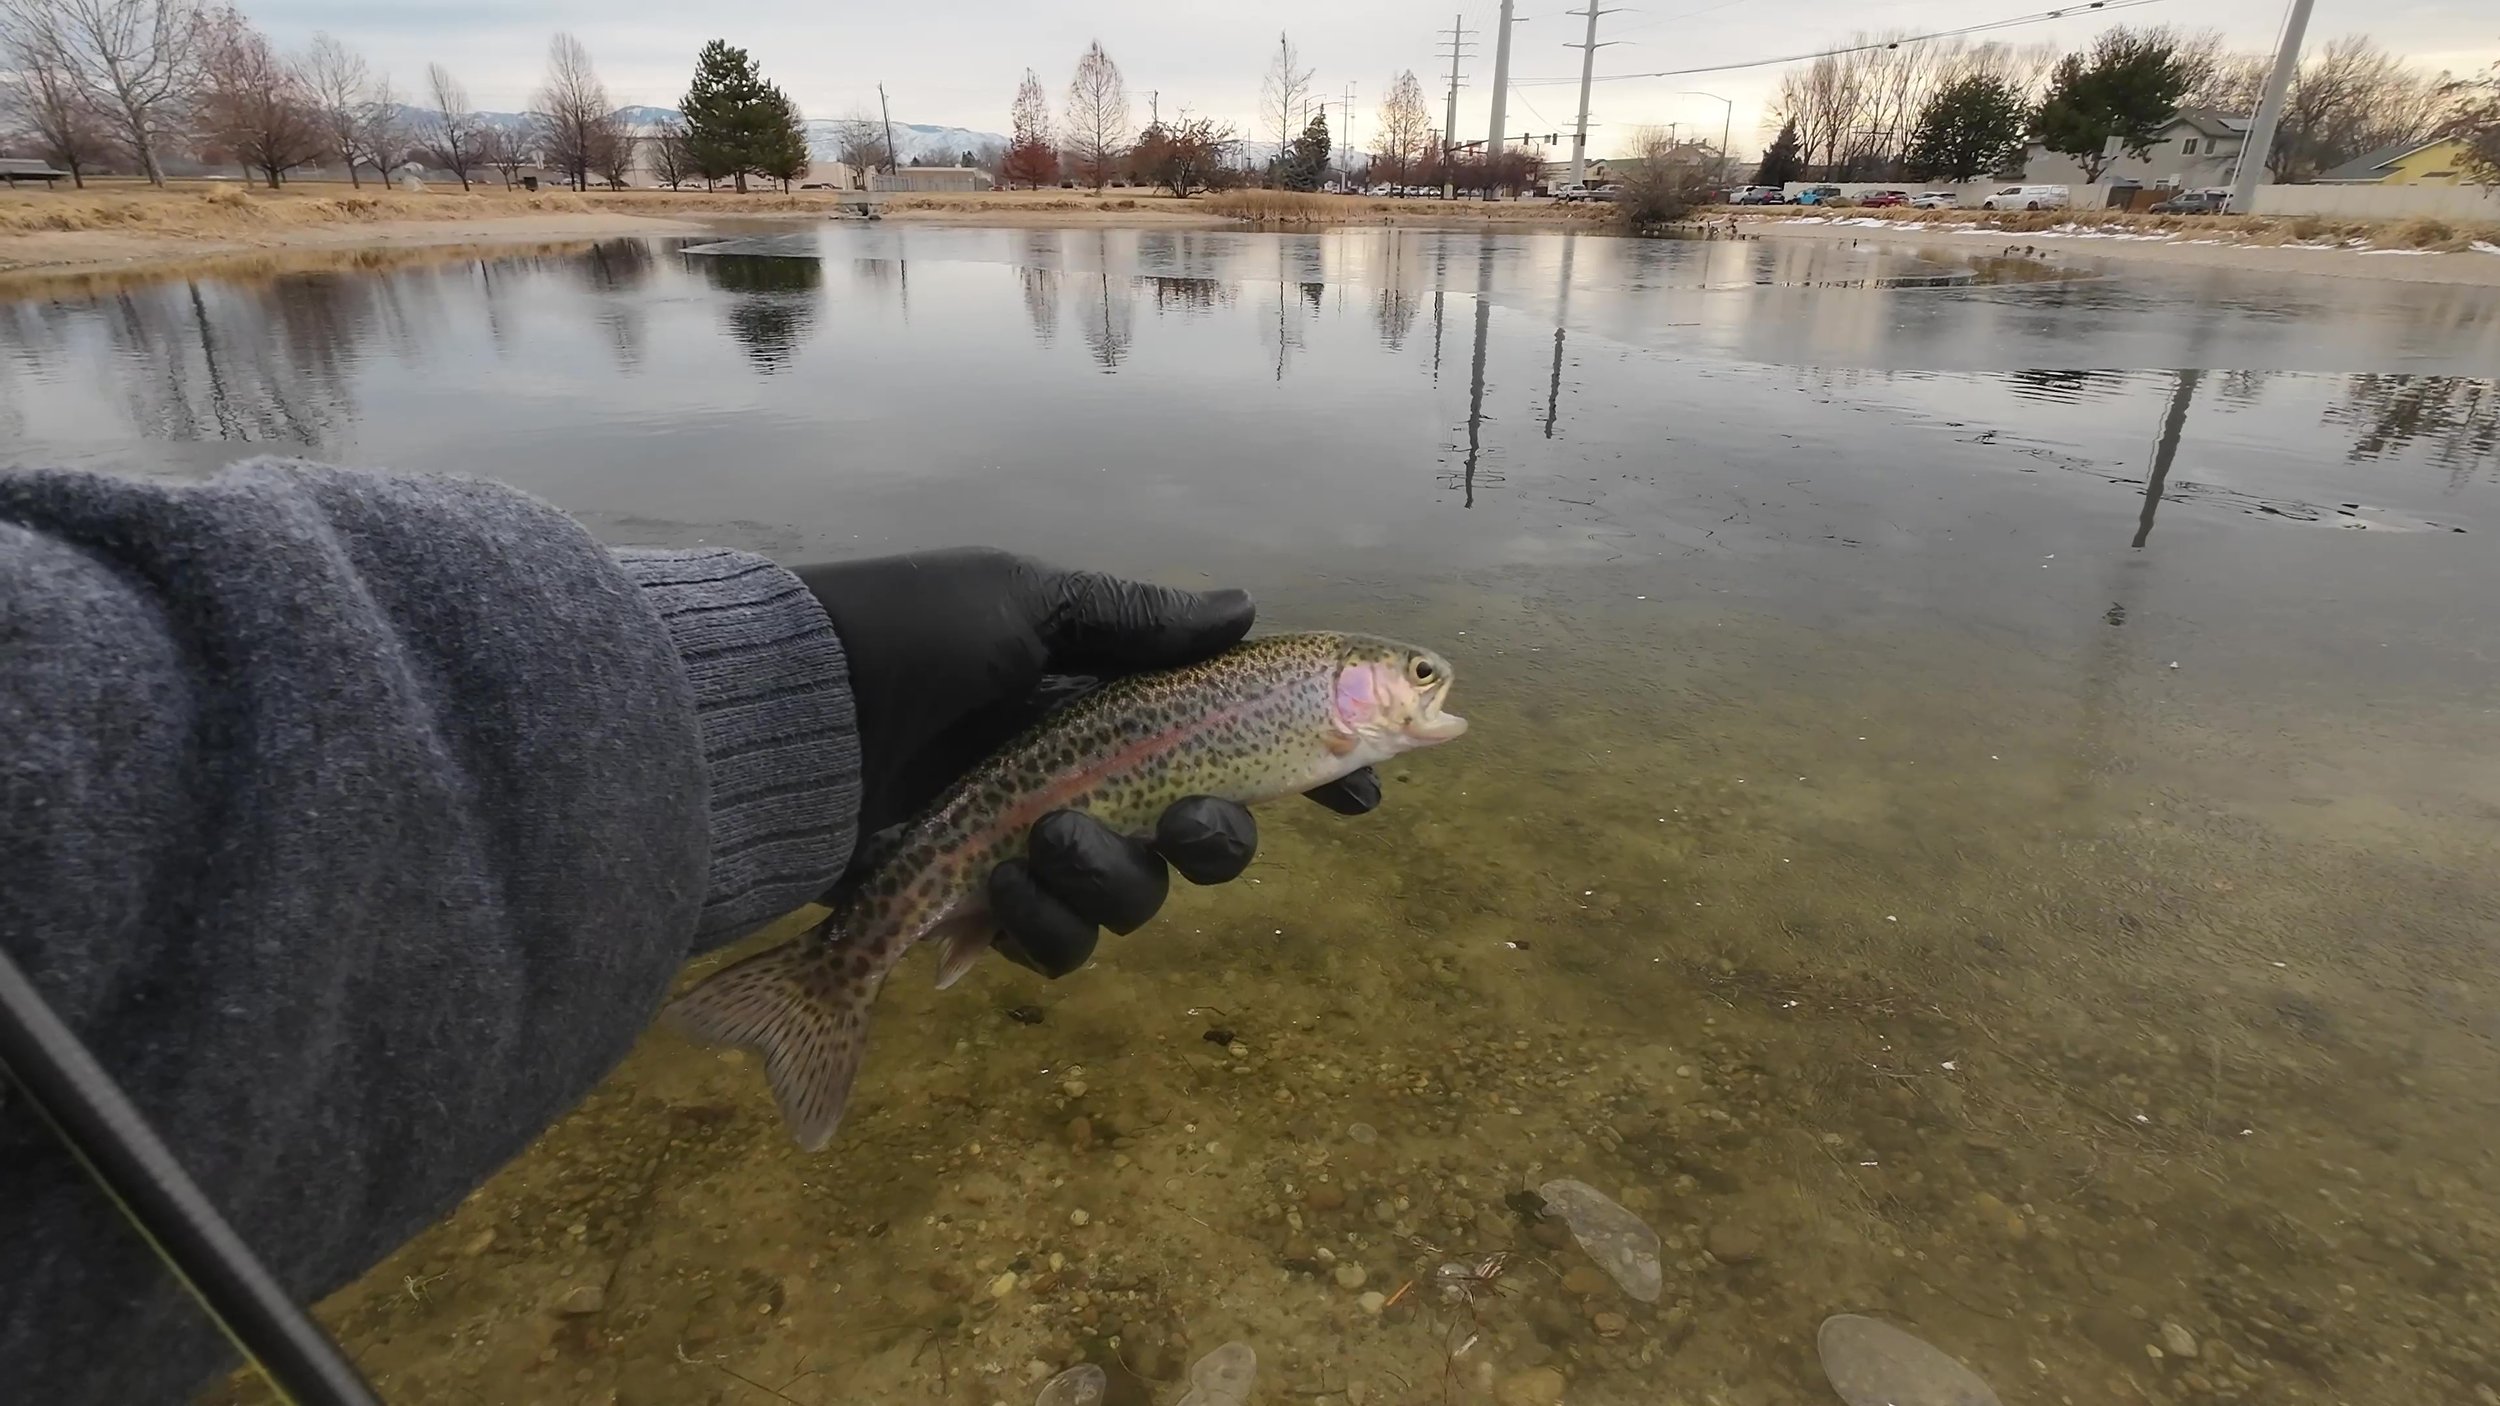
Finding the Fish (Part 2)
Once you find the fish, things get easier. All it comes down to now is finding the best bait for their appetites. Changing things up runs some risk of finding something they are not interested in, but it could also mean doubling or tripling your catch rate.